1. 给博客添加动态标签
效果如图:
- 离开博客页面时:

- 回到博客页面时:

步骤:
-
找到:
Blog\themes\hexo-theme-matery\layout\layout.ejs文件 -
在文件底部添加如下代码:
<!-- 动态标签 --> <script type="text/javascript"> var OriginTitile = document.title, st; document.addEventListener("visibilitychange", function () { document.hidden ? (document.title = "Σ(っ °Д °;)っ诶,页面崩溃了嘛?", clearTimeout(st)) : (document.title = "φ(゜▽゜*)♪咦,又好了!", st = setTimeout(function () { document.title = OriginTitile }, 3e3)) }) </script>- 注意,在
ejs语言中,注释是:<!-- xxx -->,xxx为你想要注释的部分。//和#均无效。
- 注意,在
2. 给博客添加加载页面
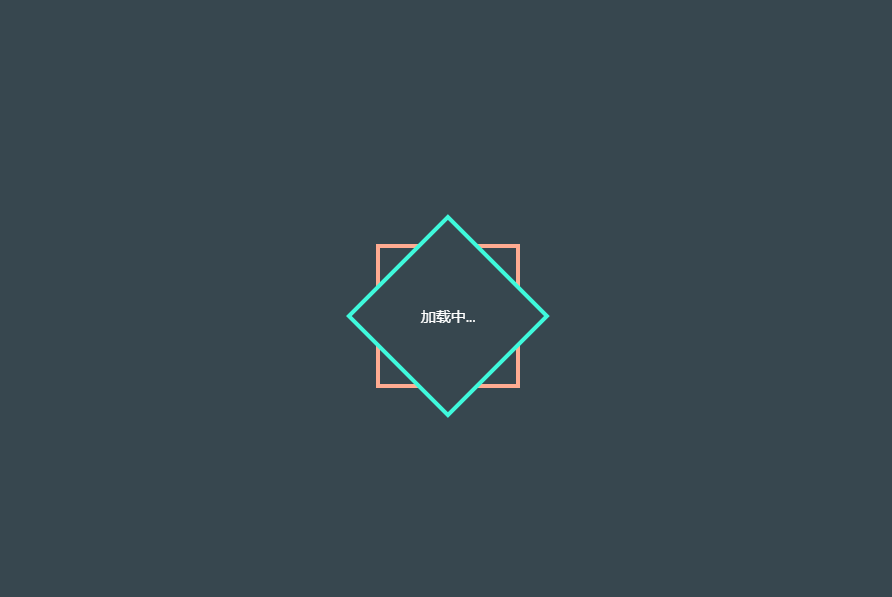
效果如图:
步骤:
-
在
Blog\themes>hexo-theme-matery>layout>_widget下创建loading.ejs文件,添加如下代码:<% if (theme.preloader.enable) { %> <div id="loading-box"> <div class="loading-left-bg"></div> <div class="loading-right-bg"></div> <div class="spinner-box"> <div class="configure-border-1"> <div class="configure-core"></div> </div> <div class="configure-border-2"> <div class="configure-core"></div> </div> <div class="loading-word">加载中...</div> </div> </div> <!-- 页面加载动画 --> <script> $(document).ready(function () { document.body.style.overflow = 'auto'; document.getElementById('loading-box').classList.add("loaded") }) </script> <% } %> -
在
Blog\themes\hexo-theme-matery\source\css下创建loading.css文件,添加如下代码:#loading-box .loading-left-bg, #loading-box .loading-right-bg { position: fixed; z-index: 1000; width: 50%; height: 100%; background-color: #37474f; transition: all 0.5s; } #loading-box .loading-right-bg { right: 0; } #loading-box>.spinner-box { position: fixed; z-index: 1001; display: flex; justify-content: center; align-items: center; width: 100%; height: 100vh; } #loading-box .spinner-box .configure-border-1 { position: absolute; padding: 3px; width: 115px; height: 115px; background: #ffab91; animation: configure-clockwise 3s ease-in-out 0s infinite alternate; } #loading-box .spinner-box .configure-border-2 { left: -115px; padding: 3px; width: 115px; height: 115px; background: rgb(63, 249, 220); transform: rotate(45deg); animation: configure-xclockwise 3s ease-in-out 0s infinite alternate; } #loading-box .spinner-box .loading-word { position: absolute; color: #ffffff; font-size: 0.8rem; } #loading-box .spinner-box .configure-core { width: 100%; height: 100%; background-color: #37474f; } div.loaded div.loading-left-bg { transform: translate(-100%, 0); } div.loaded div.loading-right-bg { transform: translate(100%, 0); } div.loaded div.spinner-box { display: none !important; } @keyframes configure-clockwise { 0% { transform: rotate(0); } 25% { transform: rotate(90deg); } 50% { transform: rotate(180deg); } 75% { transform: rotate(270deg); } 100% { transform: rotate(360deg); } } @keyframes configure-xclockwise { 0% { transform: rotate(45deg); } 25% { transform: rotate(-45deg); } 50% { transform: rotate(-135deg); } 75% { transform: rotate(-225deg); } 100% { transform: rotate(-315deg); } } -
打开
Blog\themes\hexo-theme-matery\layout\_partial\head.ejs文件,这个文件专门用来引入样式文件和配置网页信息在
<head>标签中引入loading.css文件:<link rel="stylesheet" type="text/css" href="<%- theme.jsDelivr.url %><%- url_for('/css/loading.css') %>"> -
打开
Blog\themes\hexo-theme-matery\layout\layout.ejs文件,在<body>标签下引入结构文件loading.ejs文件:<%- partial('_widget/loading') %> -
打开
Blog\themes\_config.yml,加入如下代码:# 是否开启页面加载动画 preloader: enable: truetrue是开启;false是关闭
3. 实现加密相册
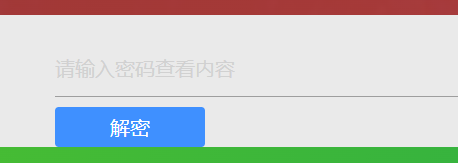
效果如图:
-

- 当点击相册展示图片时,会先跳转到这个页面,如果输错密码会跳转到首页。
步骤:
-
在
Blog文件夹下,鼠标右击打开Git bash here。 -
执行
npm install --save hexo-blog-encrypt命令安装插件。 -
执行
npm install crypto-js命令安装插件。 -
打开
Blog\themes\hexo-theme-matery文件夹下的_config.yml文件,在文件底部加入如下代码:#博文加密 npm install --save hexo-blog-encrypt encrypt: enable: true -
在
Blog\themes\hexo-theme-matery\scripts\helpers文件夹下创建encrypt.js文件,并加入如下代码:/* global hexo */ 'use strict'; const CryptoJS = require('crypto-js'); hexo.extend.helper.register('aes', function(content,password){ content = escape(content); content = CryptoJS.enc.Utf8.parse(content); content = CryptoJS.enc.Base64.stringify(content); content = CryptoJS.AES.encrypt(content, String(password)).toString(); return content; }); -
打开
D:\Blog\themes\hexo-theme-matery\source\css文件夹下的my.css文件,在文件加入如下代码:.hbe-input-container .btn-decrypt{ display: inline-block; vertical-align: top; width: 120px; height: 32px; line-height: 32px; font-size: 16px; color: #ffffff; background-color: #3f90ff; text-align: center; -webkit-border-radius: 3px; -moz-border-radius: 3px; border-radius: 3px; } -
在新建的
index.md文章内添加password属性,后面写上你的密码即可,然后执行命令,查看本地效果。注意:这里的index.md是指\Blog\source\galleries\xxx文件夹下的index.md文件。xxx即你为相册页面创建的文件夹。
注意事项
- 相册加密会自动加密文章,如果已经自己添加了文章加密,请在主题配置文件下关闭
verifyPassword。 - 密码必须设置为字母和数字双重组合,否则无法识别。


